Terminal AI Agent Setup: From Zero to First Commit
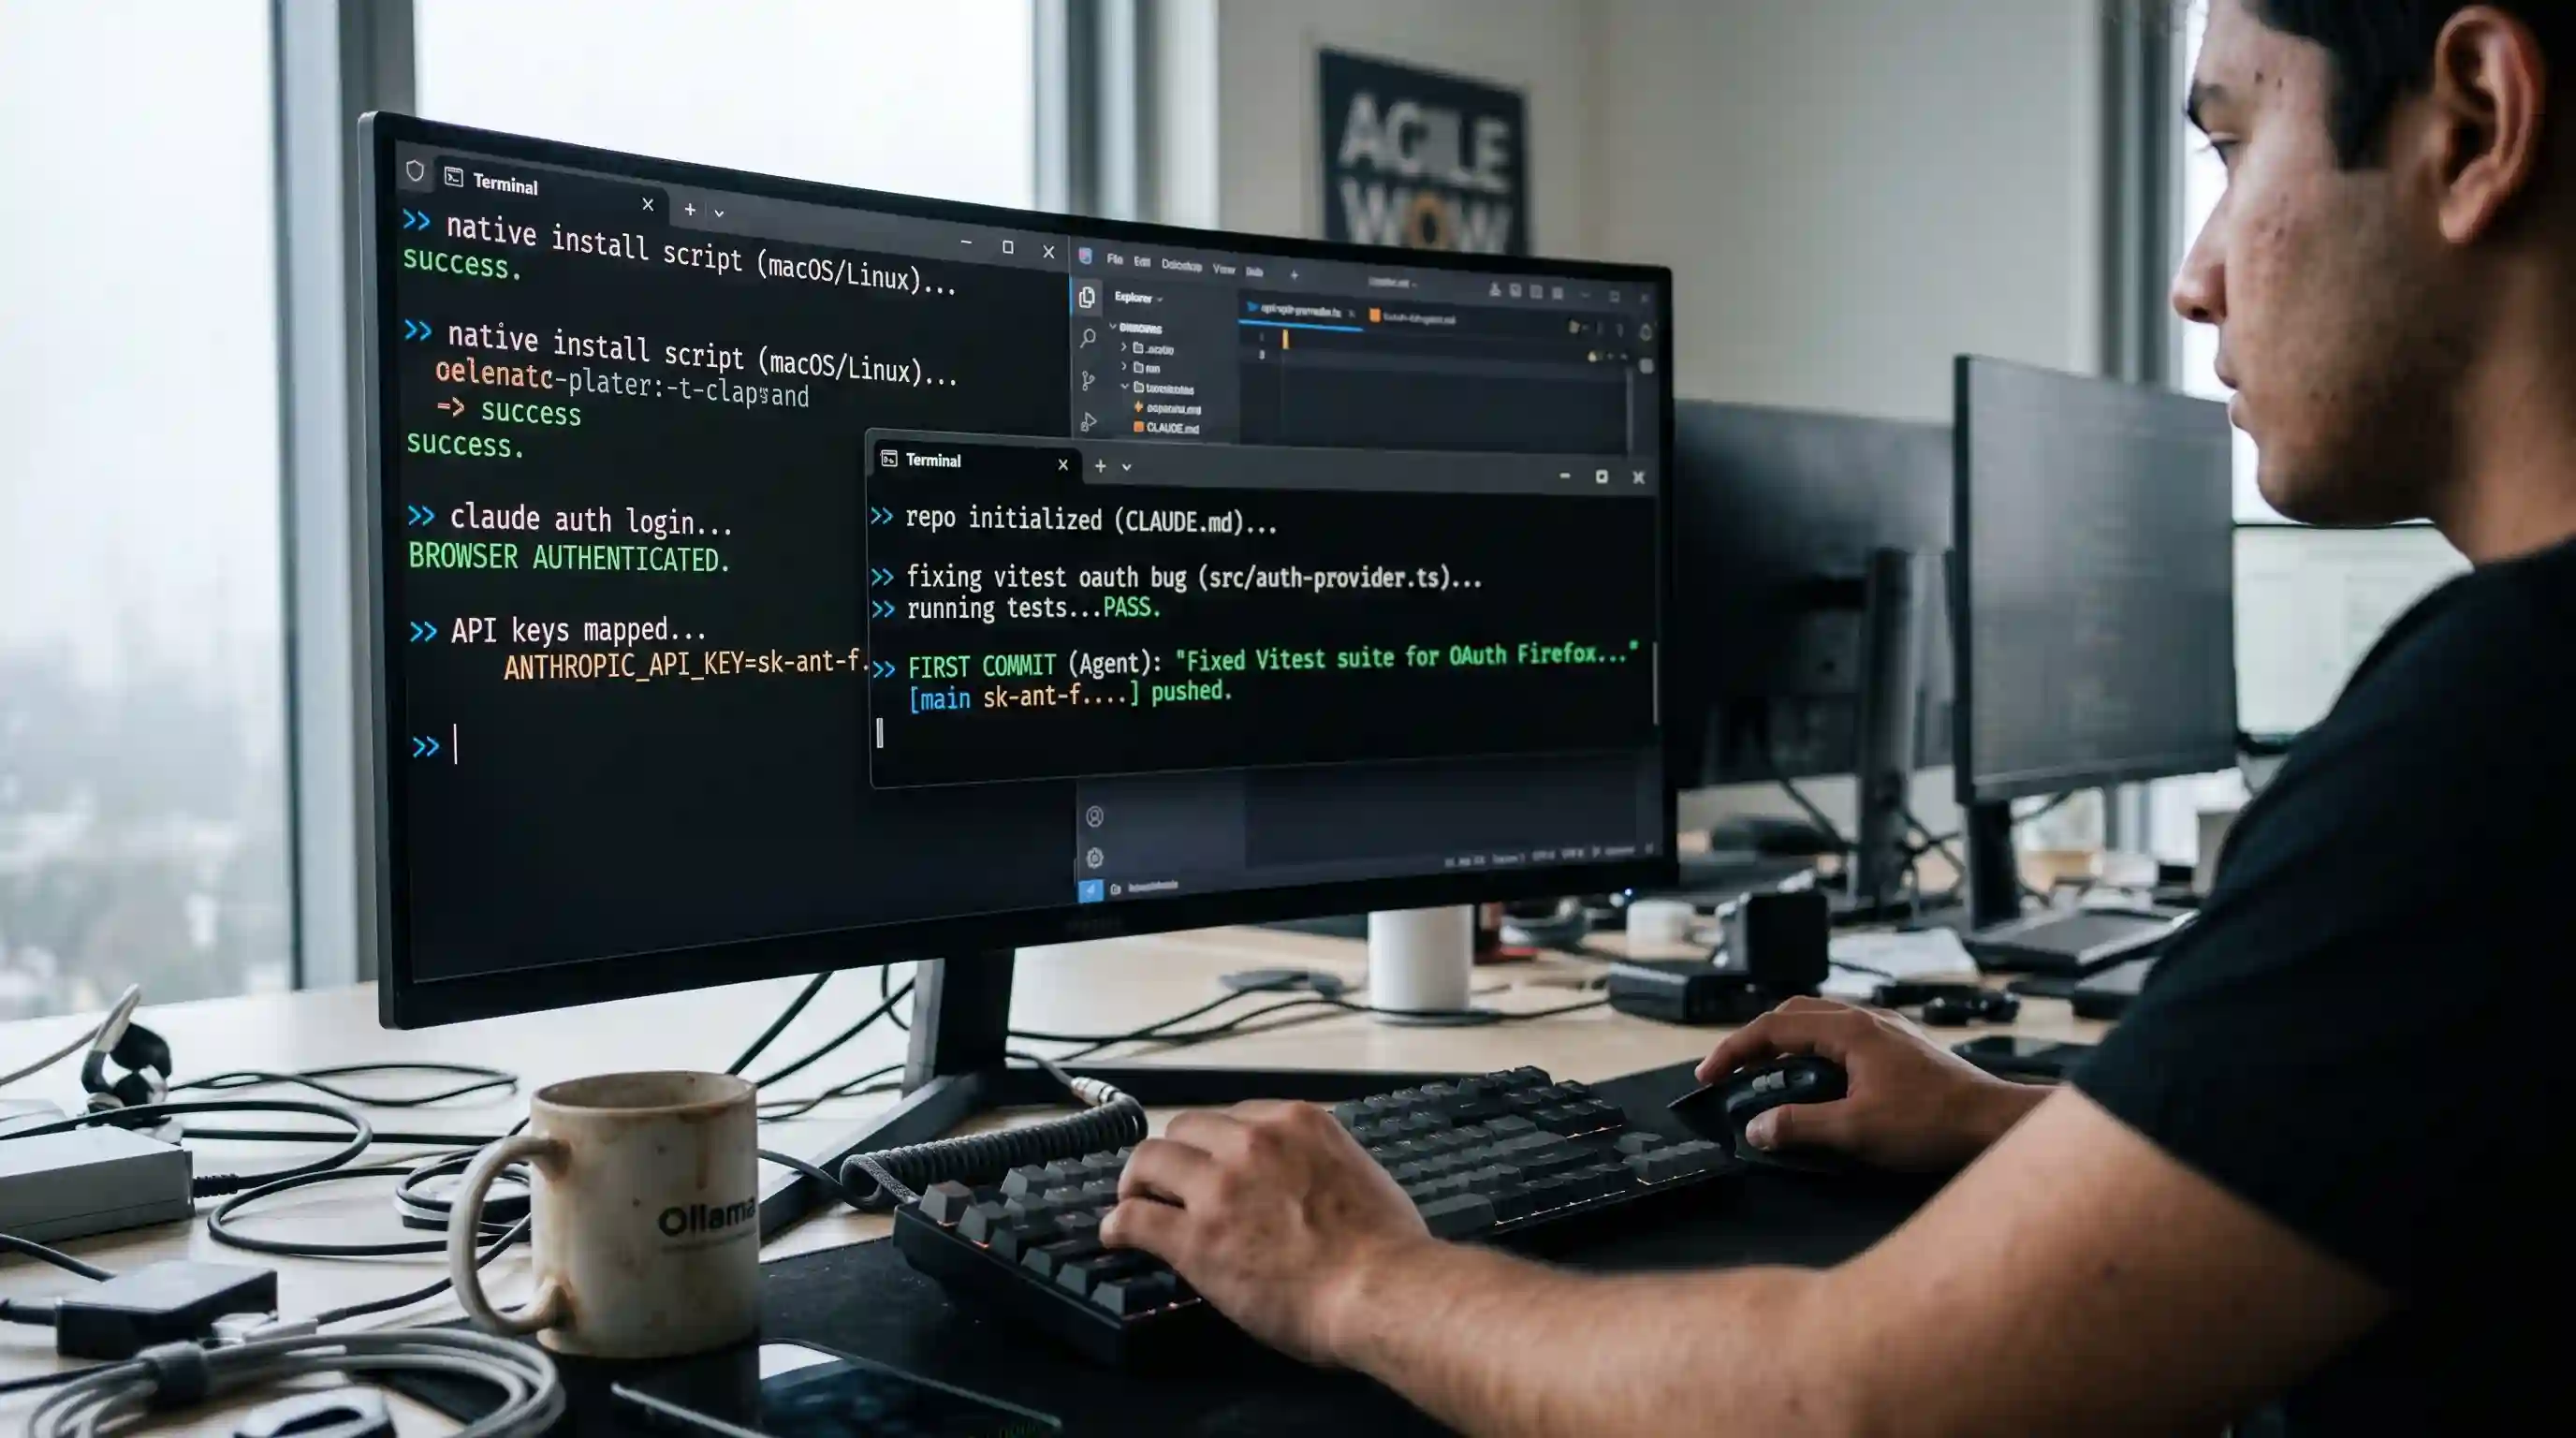
Key Takeaways
- Native Binaries Over NPM: Avoid deprecated node packages; always use the official native installer scripts for reliable background auto-updates.
- Mandatory Guardrails: Never grant an agent unfettered repository access without initializing a strict configuration file (like CLAUDE.md) to restrict execution parameters.
- Cost Containment: Autonomous retry loops burn tokens rapidly. Always monitor active session spending and leverage built-in cost-checking commands.
- Authentication Flow: Securely manage API keys via dedicated environment variables rather than hardcoding them into local project files.
Every command here is copied from a clean machine we set up start to finish. Installing an autonomous agent is vastly different from installing a passive IDE extension. Because these tools have the authority to read, write, and execute shell commands directly on your machine, your environment configuration must be flawless.
This guide provides the exact terminal AI agent setup required to securely deploy your automation environment, serving as the technical implementation layer for our broader evaluation of AI coding CLI agents compared.
We will bypass the marketing hype and focus strictly on the command-line execution needed to install the binaries, establish API authentication, enforce execution guardrails, and successfully merge your first agent-driven code patch.
How to Install Claude Code, Codex, and Gemini CLI
The installation paradigm for terminal agents has shifted. Anthropic recently updated the installation process to favor a native binary over the deprecated NPM method.
To install Claude Code on macOS, Linux, or WSL, execute the native curl script: curl -fsSL https://claude.ai/install.sh | bash. For Windows PowerShell users, the equivalent command is irm https://claude.ai/install.ps1 | iex.
If you are deploying Google's ecosystem, you can experiment immediately without a permanent binary. We cover this extensively in our Gemini CLI review, where you can trigger the agent dynamically using npx @google/gemini-cli.
How to Authenticate a CLI Coding Agent
Once the binaries are unpacked, the agent requires a secure connection to its underlying Large Language Model (LLM).
For Claude Code, authentication is managed via a browser-based OAuth flow. Running claude auth login will open a browser window and securely cache your credentials on your local system. Note that Claude Code requires a Pro, Max, Team, Enterprise, or Console account with active billing.
For custom routing or open-source agents, you must map your API keys to specific environment variables. Setting export ANTHROPIC_API_KEY=sk-ant-... or export OPENAI_API_KEY=sk-... directly in your ~/.bashrc or .zshrc profile ensures headless environments can authenticate without prompting for manual browser logins.
Which Model Should I Pick for a CLI Agent?
Model selection defines the baseline intelligence and token cost of your agentic loop. If you are dealing with massive enterprise refactors, Anthropic's Claude 3.5 Sonnet is currently the industry standard for autonomous reasoning. However, API costs can escalate.
If you are running an open-source terminal agent, you have complete freedom to decouple the software from the model provider. We highly recommend configuring an Aider (open-source CLI agent) to point toward a local instance.
For a deep dive into bypassing cloud subscriptions entirely, review our hardware matrix on openrouter vs ollama local ai.
How Do I Point a CLI Agent at My Repo and Add Guardrails?
Never drop an autonomous agent into a repository without providing an instruction manual. Navigate to your root directory and establish the agent's context.
For Claude Code, the first thing you should do in any new project is run /init. This creates a CLAUDE.md file in your root directory, which serves as the agent's architectural constraint manual.
You must define your build commands, test runner scripts, and strict formatting rules inside this file. If the constant permission prompts for every file edit are slowing you down, you can start the session with claude --dangerously-skip-permissions.
How Do I Make My First Agent-Driven Commit?
With guardrails established, you are ready to delegate. Type claude (or your respective agent command) to open the interactive terminal prompt.
Input a highly specific directive, such as: "Fix the login bug where OAuth fails on Firefox. Check auth-provider.ts. First run the Vitest suite afterward".
The agent will enter its Explore-Plan-Confirm loop. It will locate the files, explain the necessary changes, edit the logic, and run the test suite to verify the fix.
Once the tests pass, use the built-in version control commands. Claude Code has a built-in claude commit tool that automatically drafts a highly descriptive, context-aware commit message based on the exact line changes it just executed.
How Do I Manage Cost While Using a CLI Agent?
Terminal agents consume significantly more tokens than inline IDE autocomplete plugins because they pass your entire file structure back and forth during automated retry loops.
You must monitor active session costs aggressively. Inside Claude Code, use the /cost command to check exactly how much you've spent on the current session.
Furthermore, run the /compact command periodically. This summarizes the agent's history and truncates the active memory string, drastically saving on "context window" costs for long-running terminal sessions.
What Are Common Setup Mistakes?
- Running as Root/Admin: Never launch a terminal AI agent with
sudoor Administrator privileges. A hallucinated shell command could destroy core system files. - Ignoring the .gitignore: If your
.gitignoreis misconfigured, the agent might attempt to ingest massivenode_modulesor compiled binary directories, instantly maxing out your token limits and crashing the session. - Vague Prompting: Treating the agent like a Google search bar leads to spaghetti code. Treat the agent like a junior developer; provide explicit file paths, architectural expectations, and strict test-passing requirements.
Installing Claude Code CLI in VS Code
This video offers a comprehensive step-by-step walkthrough for beginners looking to correctly install and configure the Claude Code CLI environment directly within standard code editors.

Frequently Asked Questions (FAQ)
Setting up a terminal AI agent involves downloading the native binary installer, authenticating your API credentials via terminal commands, creating a strict guardrail configuration file in your project root, and providing the agent with scoped read/write permissions to your codebase.
Use native package managers for the cleanest installation. Claude Code is installed via curl scripts on macOS/Linux or irm on Windows PowerShell. Gemini CLI can be executed instantly via npm using npx @google/gemini-cli, while Codex relies on specific platform binaries.
Authentication is handled either through automated browser OAuth flows (like running claude auth login) or by exporting your specific API keys into your system’s environment variables (e.g., export ANTHROPIC_API_KEY=...) to ensure secure, headless validation.
Pick Claude 3.5 Sonnet for the highest multi-file autonomy and complex reasoning. Pick OpenAI's GPT-4o for rapid terminal execution speed. For maximum data sovereignty and zero recurring costs, pair an open-source agent with a local model like Llama 3.
Navigate to your repository directory in the terminal and launch the agent. Run the initialization command (e.g., /init for Claude) to generate a local configuration file. This file acts as the agent's instruction manual, scoping it strictly to that specific repository.
Provide a specific bug-fix or feature prompt. Once the agent edits the files and automatically runs your test suite to verify the changes, use the agent's native commit tool (like claude commit) to generate an automatic, descriptive git commit.
Write strict behavioral rules inside your agent's local configuration file (like CLAUDE.md). Detail your coding style preferences, restrict specific directories from being read, and disable autonomous shell execution bypasses (--dangerously-skip-permissions) unless absolutely necessary.
You must use an open-source, LLM-agnostic agent like Aider. Run a local inference server using a tool like Ollama, then point your terminal agent's API base URL environment variable toward your localhost port to bypass cloud endpoints completely.
Monitor active sessions by frequently typing cost-tracking commands like /cost. Utilize context-clearing commands like /compact or /clear to prevent the agent from infinitely passing massive, outdated conversation histories back to the expensive LLM API.
The most common mistakes include installing via deprecated npm packages instead of native scripts, granting the terminal agent system-level root permissions, failing to properly configure .gitignore files, and writing vague prompts that trigger expensive, infinite hallucination retry loops.